
23 Jan 2026
Post by Elijah
Introduction
The throttle valve (TV) cable in a 700R4 transmission is integral to ensuring smooth shifting and optimal transmission performance. Correctly adjusting this cable prevents harsh shifting and potential transmission damage. This comprehensive guide will walk you through the steps needed to adjust the TV cable on a 700R4 transmission, ensuring your vehicle operates efficiently.
Understanding the 700R4 Transmission
Before tackling the adjustment, it’s crucial to understand the 700R4 transmission and the TV cable’s role within it. The 700R4, a popular transmission in GM vehicles since the 1980s, is valued for its overdrive capabilities, contributing to better fuel efficiency and performance. The TV cable regulates the hydraulic pressure inside the transmission, influencing the shift timing and the firmness of gear engagements. Therefore, incorrect adjustment can lead to serious issues such as slipping or damaging the gears.
Now that you understand the importance of a correctly adjusted TV cable, let’s proceed with the tools and preparations required for the adjustment.
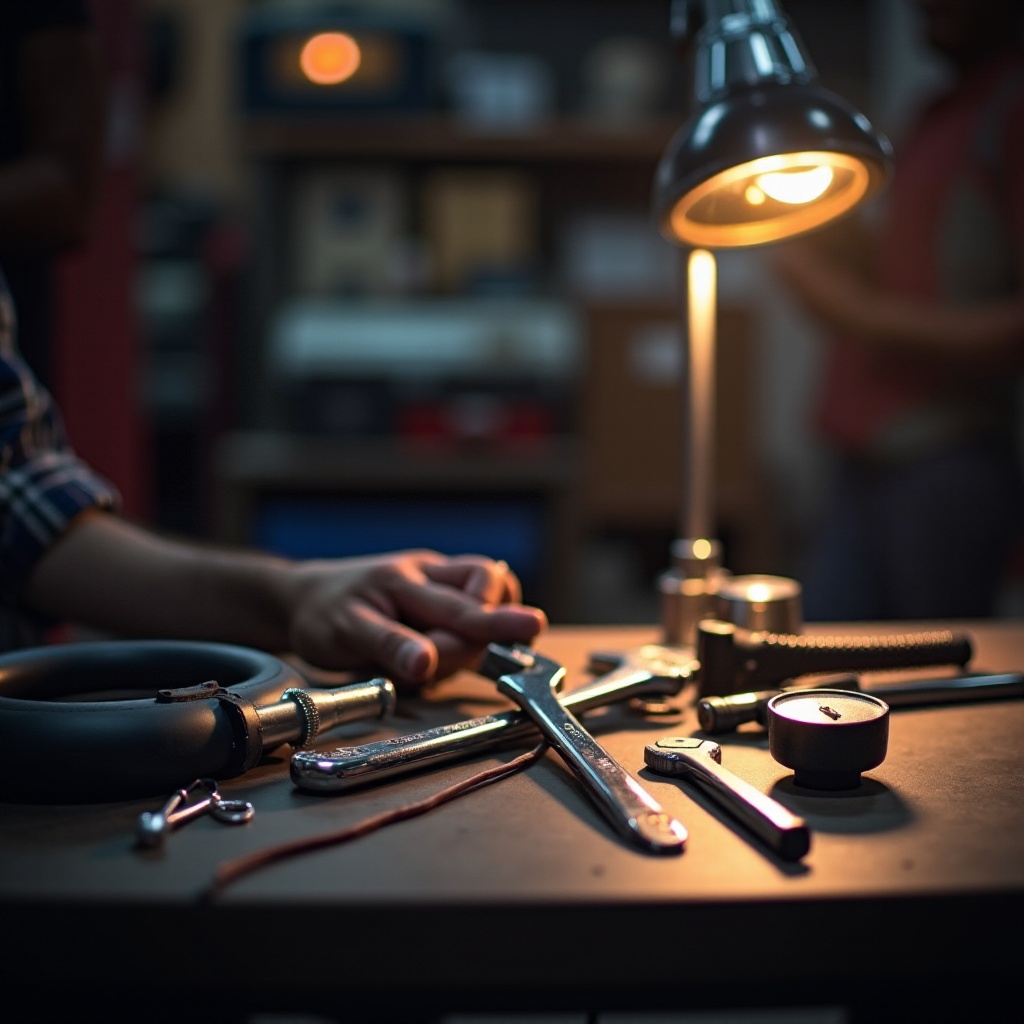
Tools and Preparations
Having the right tools and creating a safe work environment are essential steps for effectively adjusting your TV cable.
- Basic Tool Set: Includes a socket set and a screwdriver.
- Mechanic Gloves: For hand protection throughout the process.
- Adequate Lighting: Ensure your workspace is well-lit for better visibility.
Safety Precautions:
– Turn off the vehicle and let the engine cool to avoid burns.
– Use jack stands to stabilize your vehicle safely.
With tools in hand and safety measures observed, you’re ready to begin the cable adjustment process.
Step-by-Step Guide to Adjusting the TV Cable
Follow these step-by-step instructions to ensure precise TV cable adjustments:
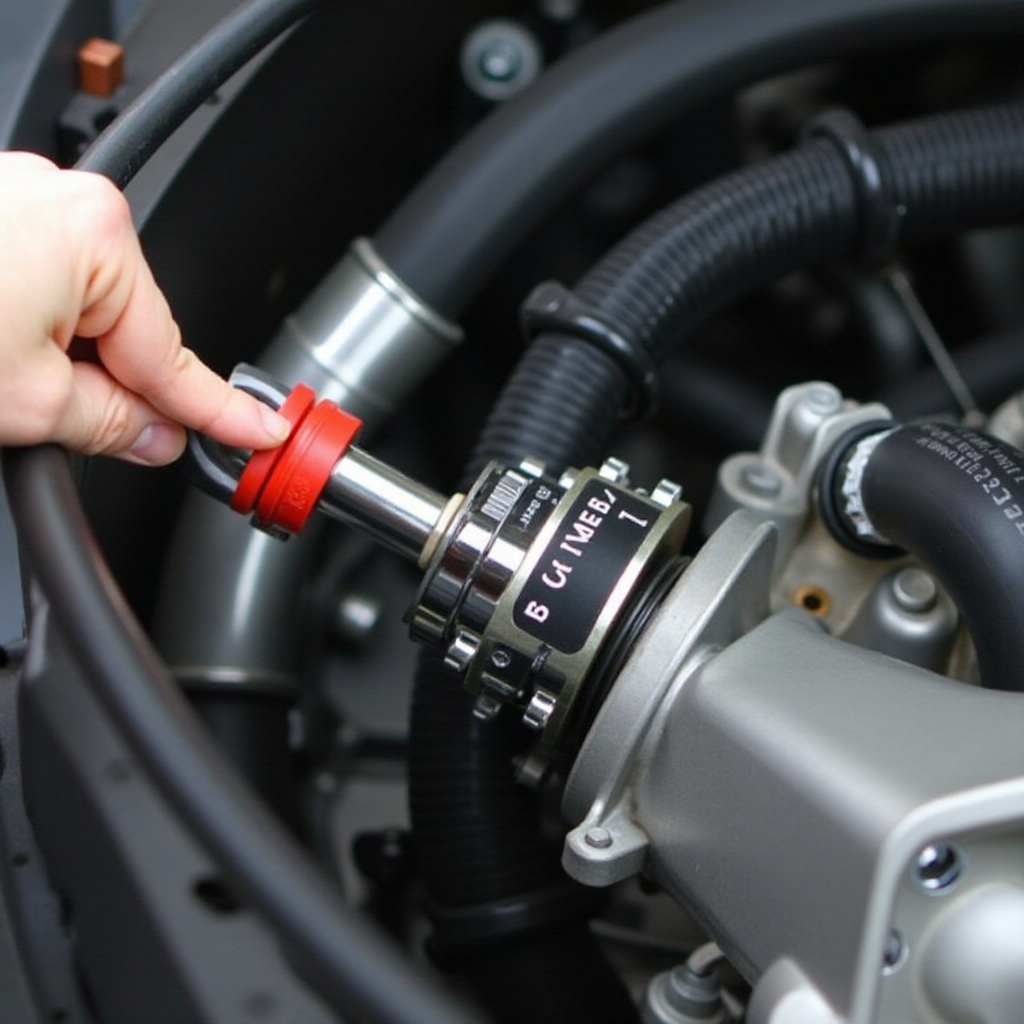
- Locating the TV Cable:
- Open the vehicle’s hood to find the TV cable attached to the throttle linkage.
-
Trace the cable down to its connection point with the transmission.
-
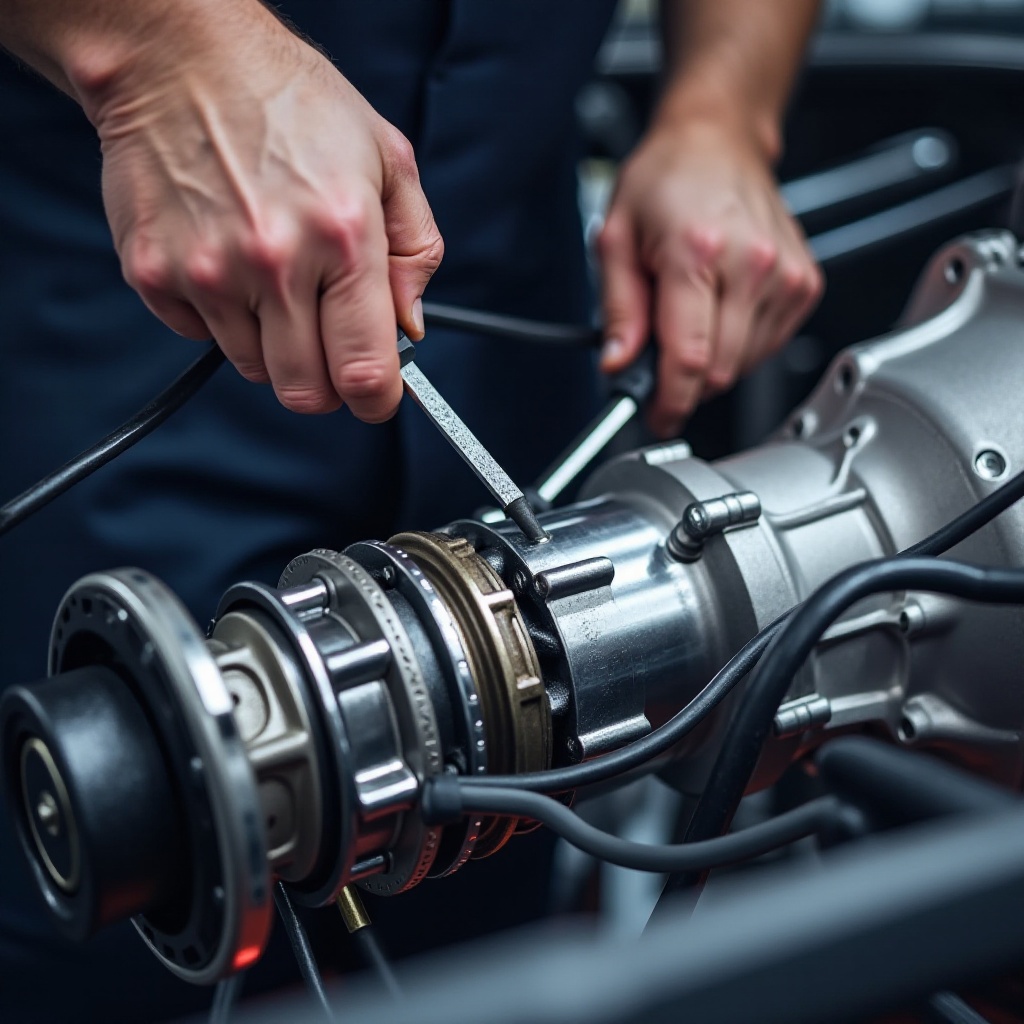
Preparing for the Adjustment:
- Remove any obstructive parts to gain clear access to the cable.
-
Inspect the cable for signs of damage or excessive wear, which could affect adjustment.
-
Adjusting the Cable Tension:
- Press on the release tab located on the cable adjustment assembly.
- Gently pull the cable housing to remove any slack, ensuring a snug fit.
-
Release the tab slowly, allowing the cable to lock in its new position securely.
-
Securing the Adjustment:
- Manually move the throttle linkage to check cable tension.
- Confirm the cable’s smooth operation without any binding or slippage.
- Reassemble and secure any components removed during preparation.
Having completed the adjustment, it is now time to test your work to ensure optimal transmission performance.
Testing the Adjustment
After adjusting the TV cable, conducting a test drive will confirm whether the adjustments have improved your vehicle’s performance. Here are the steps for testing:
- Start your vehicle and let it reach its normal operating temperature.
- Conduct a test drive in a controlled environment, assessing the smoothness and timing of gear shifts.
- Carefully observe for any harsh shifts or unusual transmission behaviors.
By actively monitoring the test drive, you can discern the effectiveness of your adjustment. If performance issues persist, further adjustment may be necessary, or it might be time to seek expert advice.
Troubleshooting Common Problems
Despite careful adjustments, problems may still arise. Here are some common issues and their solutions:
- Problem: The transmission is slipping or shifting too harshly.
-
Solution: Inspect the TV cable tension once more and ensure it is neither too taut nor too loose.
-
Problem: Gear hesitation persists during acceleration.
- Solution: Check for cable damage and replace if necessary.
Understanding these problems allows you to resolve them and ensure consistent vehicle performance.
When to Seek Professional Help
While many enthusiasts can adjust the TV cable at home, some signs may indicate the necessity for professional assistance:
- Persistent difficulty in shifting despite multiple adjustments.
- Auditory signs, such as grinding or unusual noises coming from the transmission.
- Visible damage to transmission components noted during a routine inspection.
By identifying these issues early and consulting with a professional, costly repairs and further vehicle damage can be prevented.
Conclusion
Adjusting the TV cable on a 700R4 transmission is a task that promotes smooth vehicle operation and longevity. Routine maintenance and correct adjustments are vital for avoiding frequent trips to the repair shop and keeping your vehicle in peak condition.
Frequently Asked Questions
How often should you adjust the TV cable on a 700R4?
It’s recommended to check and adjust the TV cable during your regular vehicle maintenance schedule, or whenever you notice a change in gear shifting behavior.
Can improper adjustment cause damage to the transmission?
Yes, incorrect TV cable adjustment can lead to issues such as harsh or delayed shifting, potentially causing long-term damage to the transmission.
Is it possible to adjust the TV cable without any tools?
While you may manage minor adjustments without tools, having the correct tools ensures precision and prevents potential damage during the adjustment process.